Watercolor Techniques and How to Start an Art Business
Learn professional watercolor techniques and how to start an art business. Discover tips for selling your art and growing as a professional watercolor artist.

Best quote from Watercolor Techniques and How to Start an Art Business
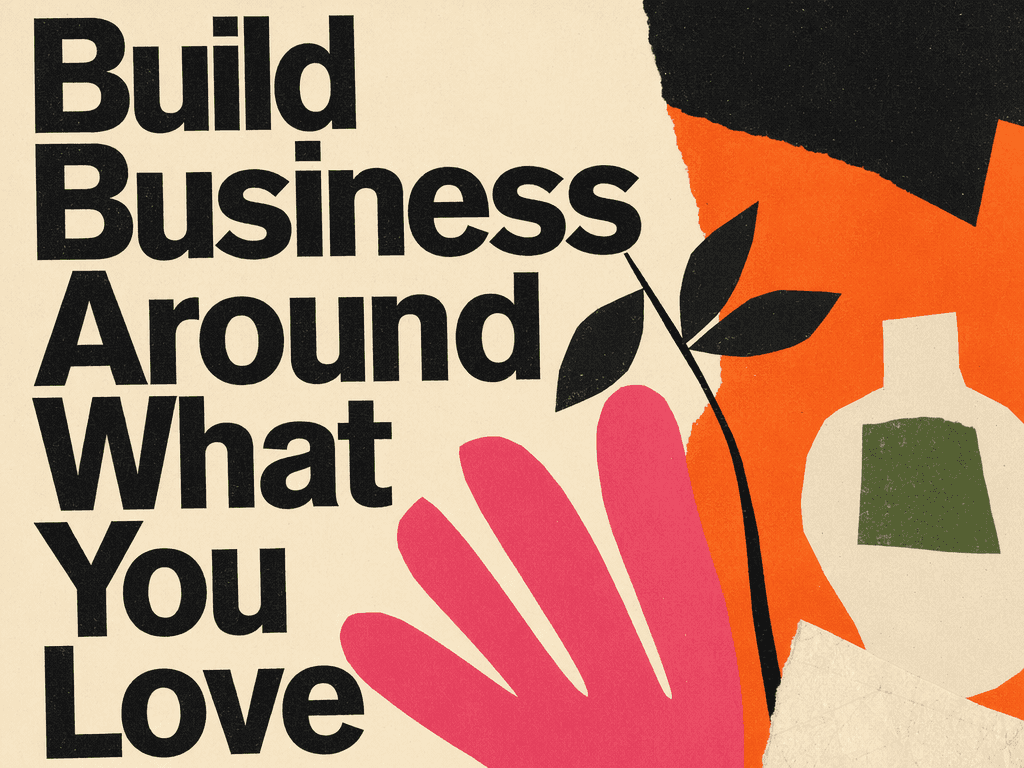
It’s not about finding a massive block of time; it’s about those small, intentional steps. The transition from listener to doer is where the magic happens.
Generated by Catherine
Watercolor techniques and how to start an art business

Frequently Asked Questions
Beginners should focus on mastering fundamental watercolor techniques such as wet-on-wet, wet-on-dry, and creating smooth gradients. Understanding paper saturation and pigment control is essential for developing a professional style. Our tutorials cover these basics alongside advanced methods to help you build a strong technical foundation before you transition into selling your watercolor art professionally.
Starting an art business involves more than just painting; you need to understand branding, pricing, and online marketplaces. Begin by building a cohesive portfolio of your watercolor work and identifying your target audience. This guide provides art business tips for beginners, focusing on how to set up your shop, manage inventory, and effectively market your unique watercolor pieces to collectors.
To succeed in selling watercolor art online, high-quality photography and clear product descriptions are vital. Professional artists recommend using social media to showcase your process through watercolor painting tutorials, which builds trust with potential buyers. Additionally, diversifying your income by offering both original paintings and high-quality prints can help sustain your art business as you grow your brand and reach.
From Columbia University alumni built in San Francisco
"Instead of endless scrolling, I just hit play on BeFreed. It saves me so much time."
"I never knew where to start with nonfiction—BeFreed’s book lists turned into podcasts gave me a clear path."
"Perfect balance between learning and entertainment. Finished ‘Thinking, Fast and Slow’ on my commute this week."
"Crazy how much I learned while walking the dog. BeFreed = small habits → big gains."
"Reading used to feel like a chore. Now it’s just part of my lifestyle."
"Feels effortless compared to reading. I’ve finished 6 books this month already."
"BeFreed turned my guilty doomscrolling into something that feels productive and inspiring."
"BeFreed turned my commute into learning time. 20-min podcasts are perfect for finishing books I never had time for."
"BeFreed replaced my podcast queue. Imagine Spotify for books — that’s it. 🙌"
"It is great for me to learn something from the book without reading it."
"The themed book list podcasts help me connect ideas across authors—like a guided audio journey."
"Makes me feel smarter every time before going to work"